Many people love art and can appreciate it, but they are unable to paint themselves. Many people want to paint as a habit to relieve stress and live a quality life. But they don’t know where to learn. We realize that learning how to create art has been a huge demand.
For this reason, we will upload our real stuff blog of learning marker drawing, and in each blog post attached with a teaching video. We believe that they can help you learn effectively and happily and let the art drawing become an important part of your life.
In this blog, you’re going to know the types of markers and common marker drawing techniques. Let’s get started.
Here is the Link of Youtube Video Tutorial: https://youtu.be/bZRgUJp0q00
- Two Types of Marker:Brush & Chisel Dual Tips Art Markers and Chisel & Fine Dual Tips Drawing Marker
There are mainly two types. There is something different about the other side of the two markers. One has a brush tip. We call these Brush & Chisel Dual Tip Art Markers. The other one has a fine tip. We call these Chisel & Fine Dual Tip Drawing Markers. Each of the two markers has its own advantages and disadvantages. You can simply pick the one you like more or feel more comfortable with when drawing.
- Attention Points of Using a Drawing Marker
Overlay from light color to dark color. Of course, you can have your own style and there is no right and wrong. It really depends on your drawing habit. But in my experience, we can make a nice shadow if we overlay from light to dark.
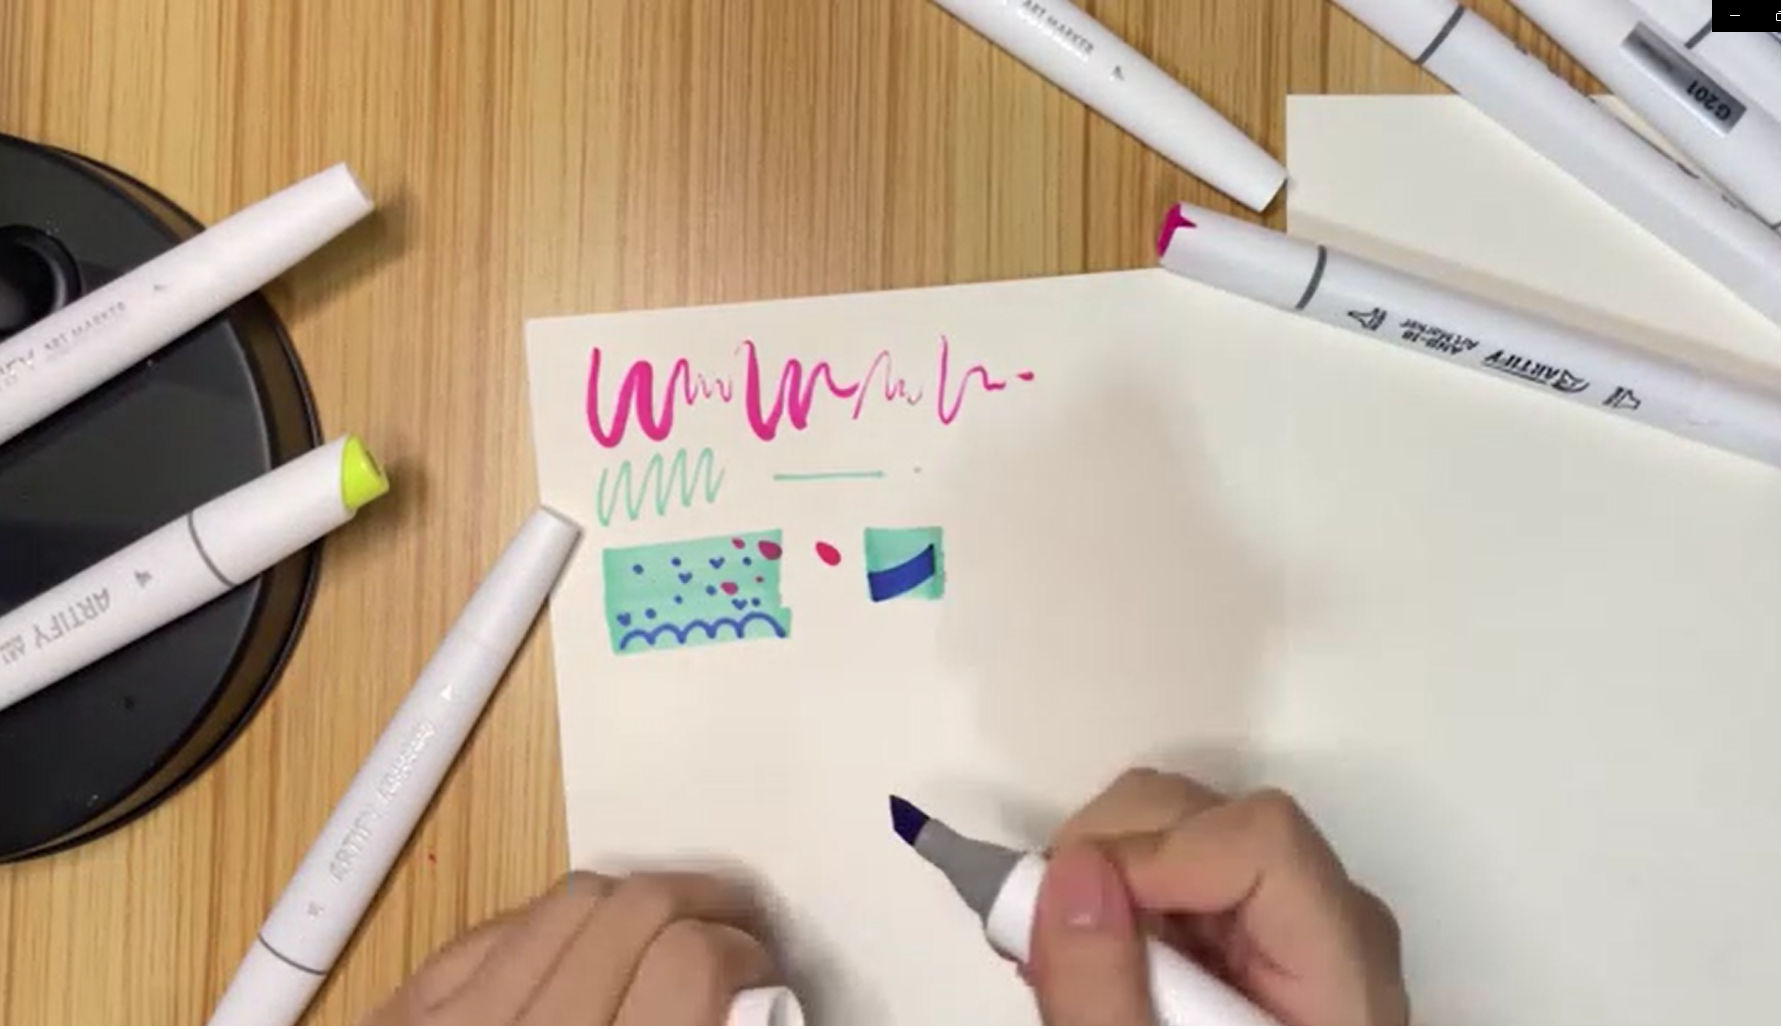
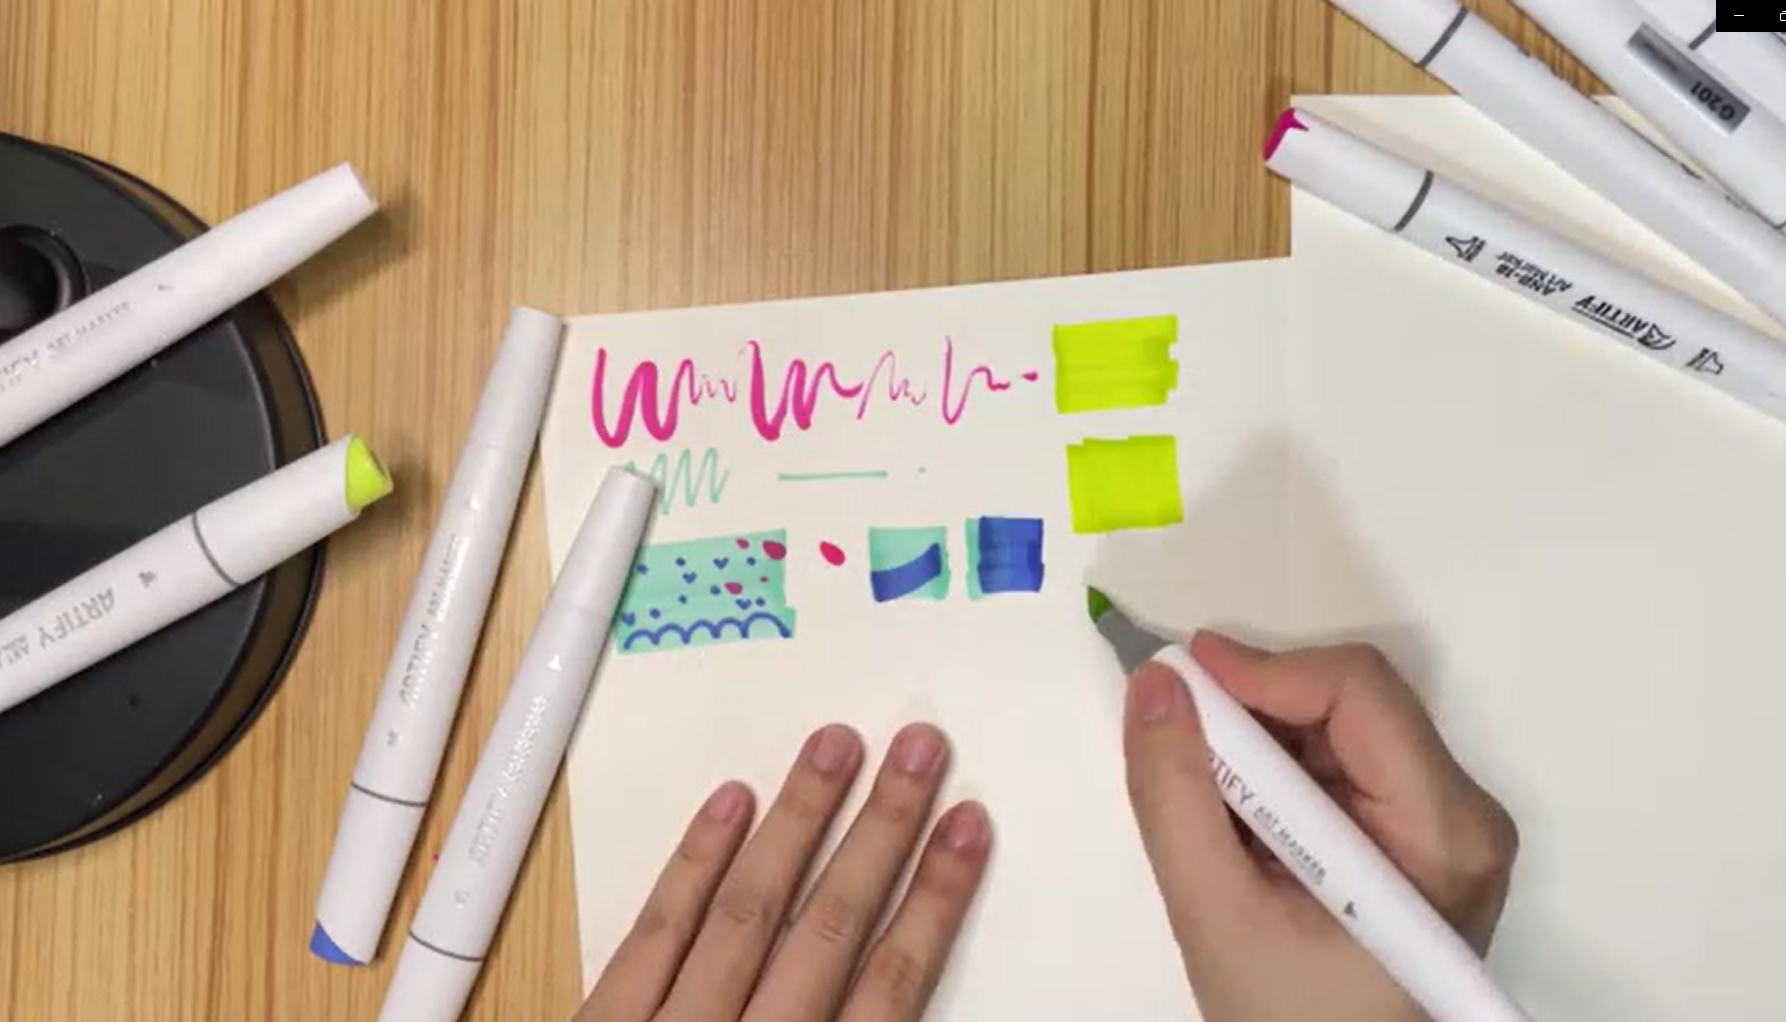
Keep the direction of our strokes in a straight line, such as all going from left to right, or from top to bottom to make sure a relatively clean color block. Too many of these messy strokes will make our drawing very uneven and sloppy looking.
- Common Drawing Techniques
- Straight Line Flat Coloring
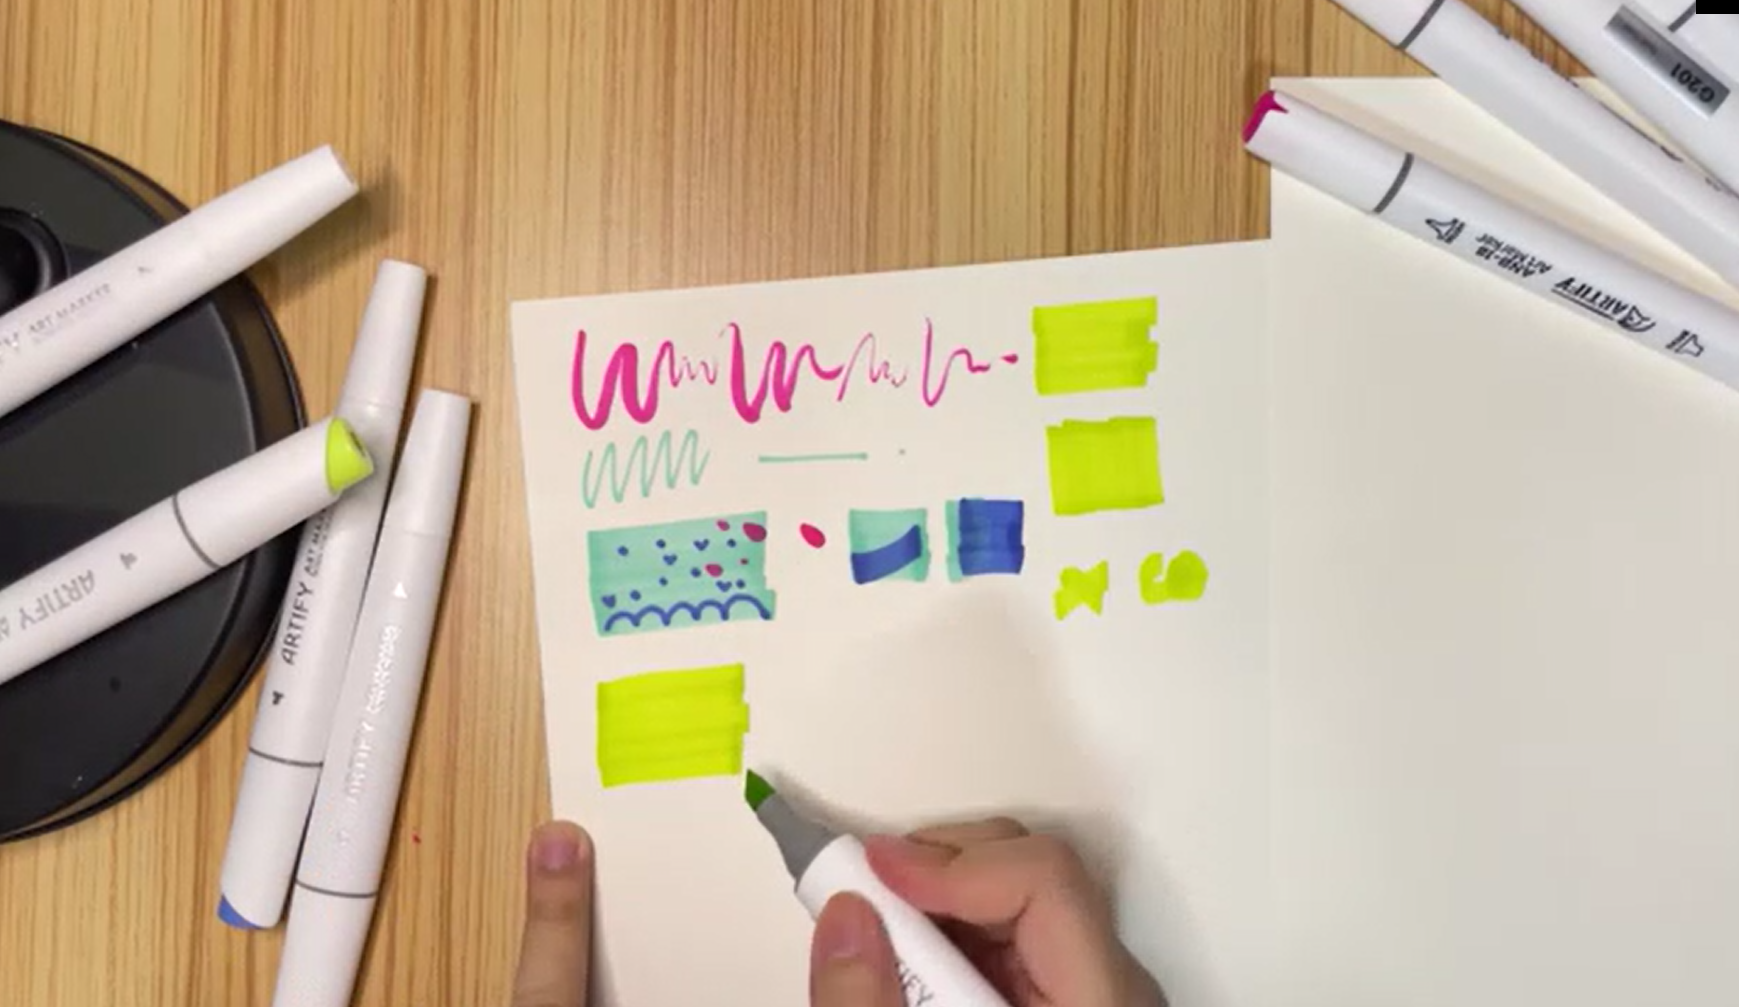
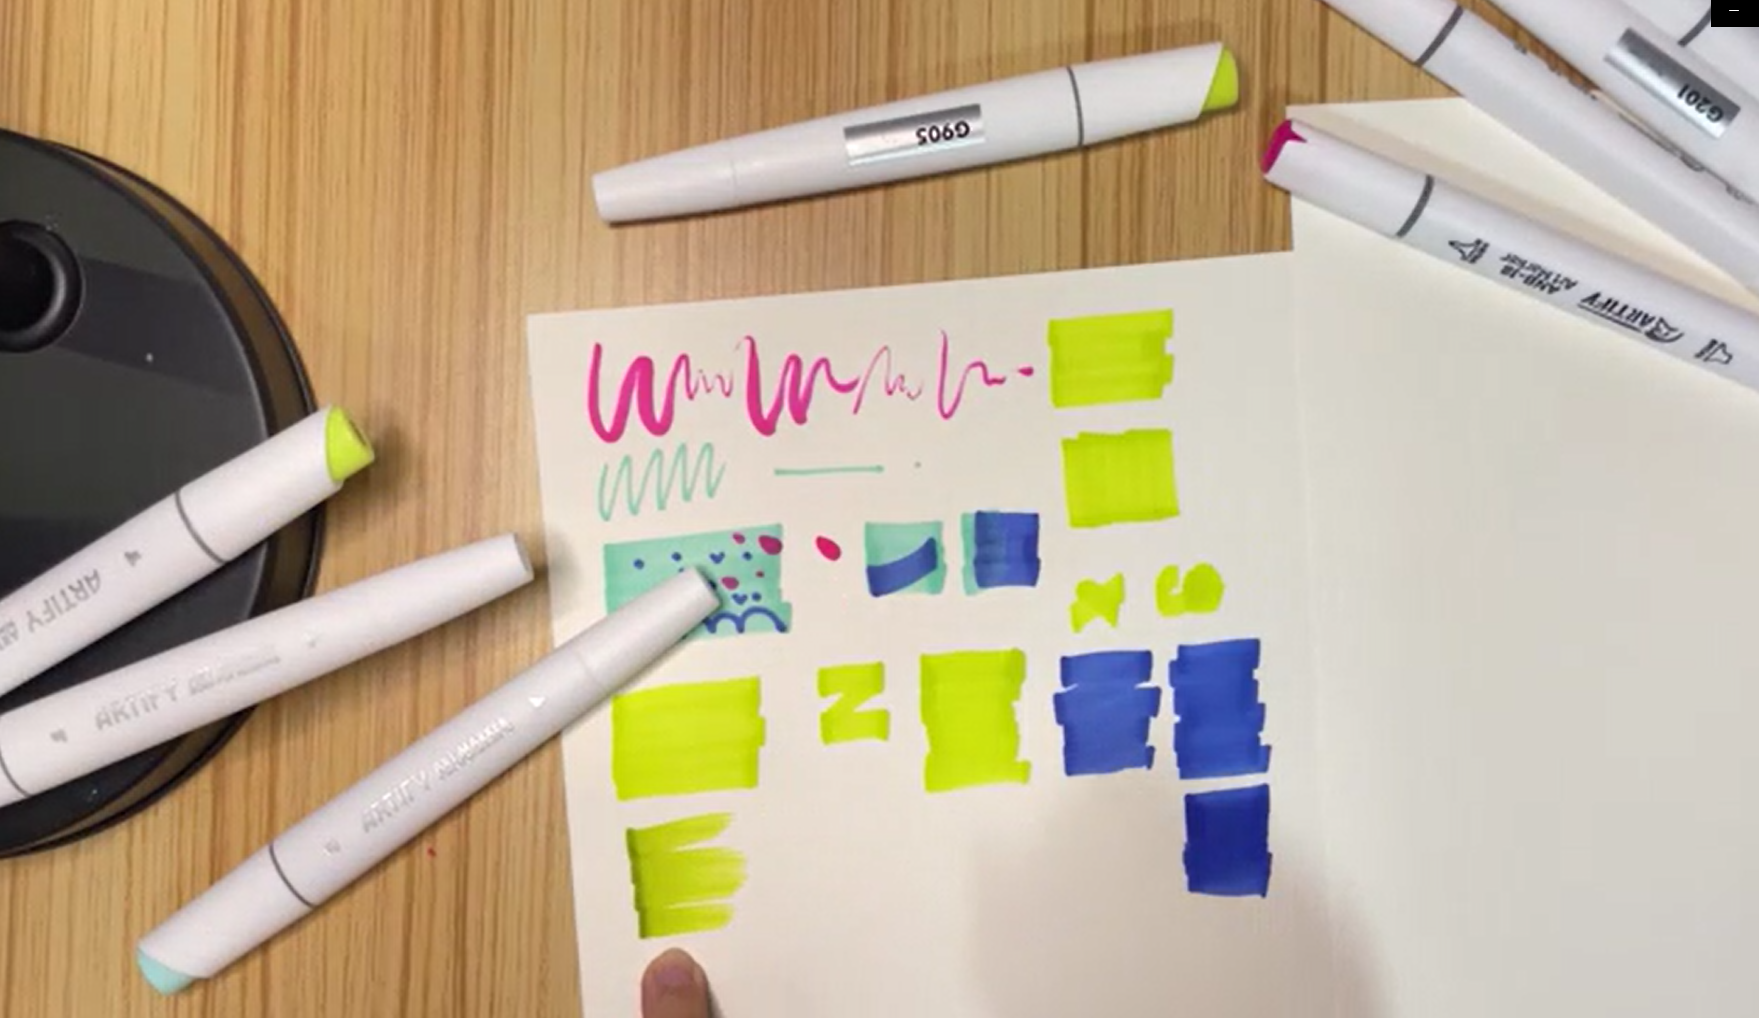
The first technique is called straight line Flat Coloring. In fact, no matter what specific kind of techniques we use to flat paint, the most important thing to pay attention to is that the speed and strength of our drawing should be uniform. So now let's look at a straight-line flat paint, and actually these two blocks that I just drew are straight lines flat paint. So, this is straight flat painting. Now pay attention to the direction of it! We see that there will be obvious traces on it after it dries out. So If you don't like the traces, how do we avoid the traces? A second way to do it is the Z-shape flat drawing.
- Z Line Flat Coloring
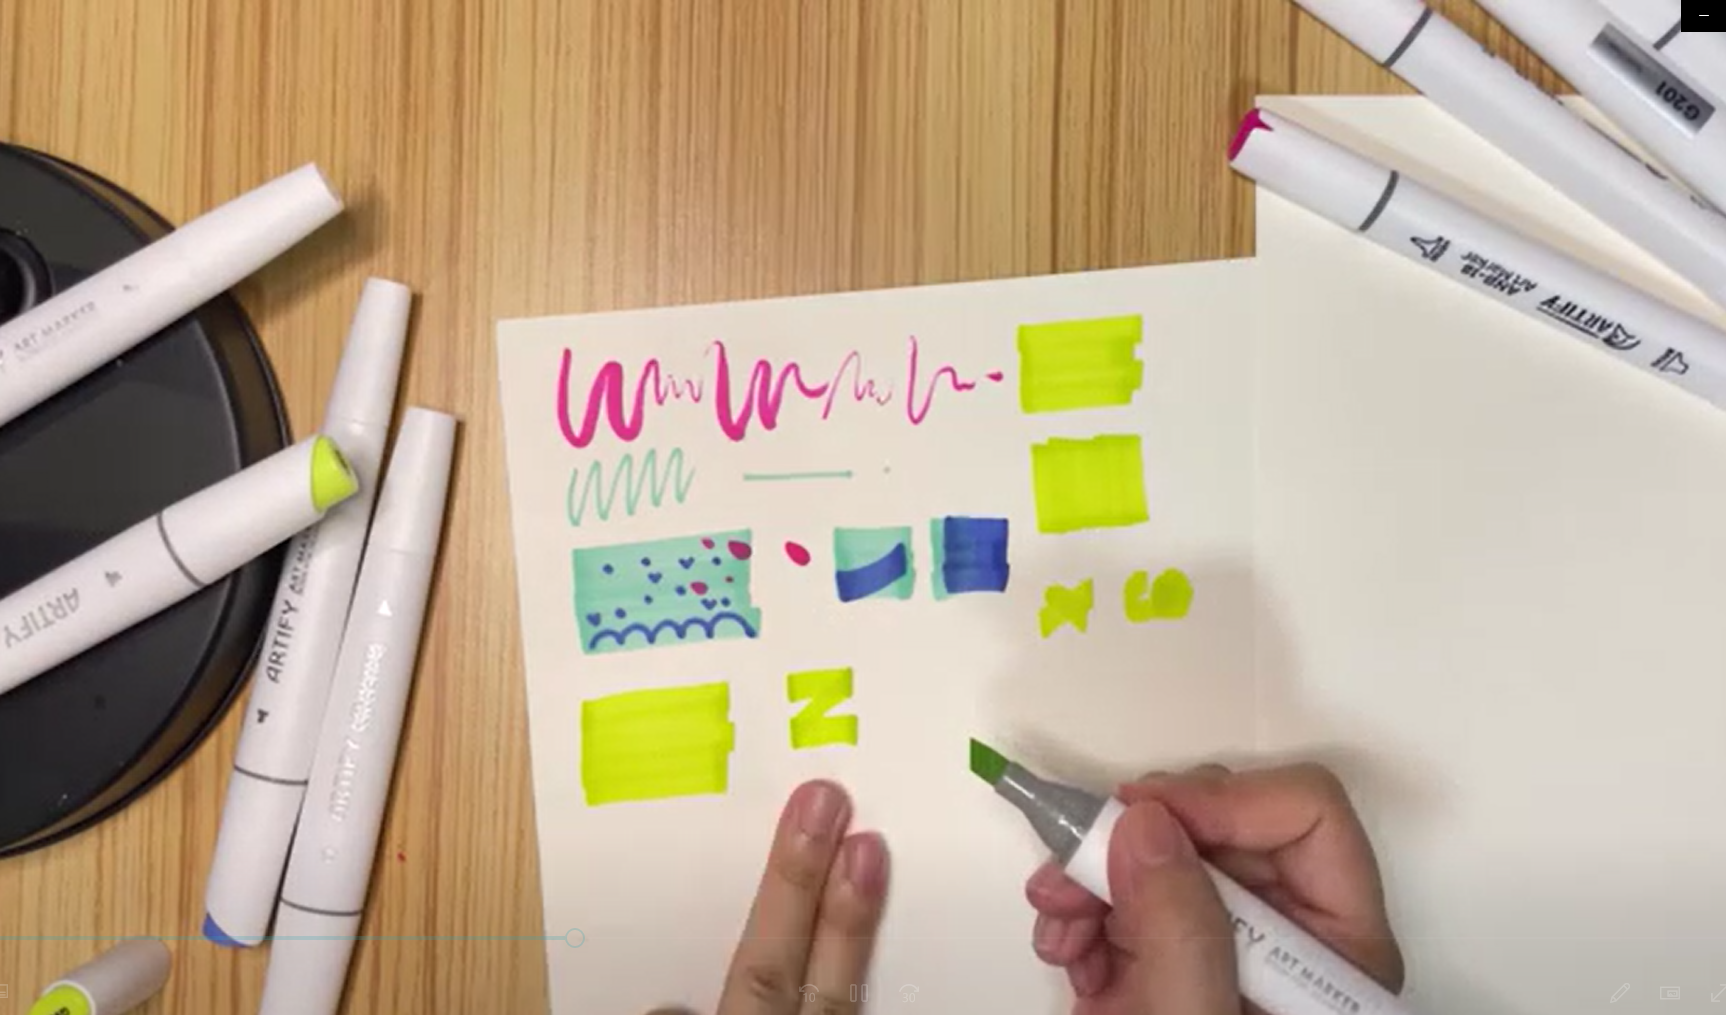
Just as we would write a letter Z, we can use this direction of the stroke to draw a block of color. This way, since we will have overlapping strokes in it, we can get a color block on which the strokes are very uniform. Using a darker color might show more clearly the advantages of Z line flat drawing. It will just create a more uniform block. The key here is to slow down a bit and control your speed when you’re drawing. You see? Using z line flat coloring will just make the chiselstroke less obvious. But let me be clear, it’s impossible if you want a perfect color block where you can’t see any difference between the Chisel strokes. This is the style of painting with markers, it’s going to have some lines no matter how careful you are.
- Sweeping
The next technique I’m showing you is sweeping. It’s quite easy to understand just from its name. Sweeping painting is like you sweep using a marker. It will make a more messy brushstroke. Normally the sweeping creates a brushstroke where you can see a change from heavy to light. The tail part of the stroke is unregulated or wild. So sweeping can be used to draw something messy, like grass, leaves and other plants. So to draw the grass, I will first lay down the background color, and then draw some small details like this on the background color.
- Stippling
Now let’s see stippling. Stippling is generally used when we draw leaves. When stippling, we can use either chisel tip or fine tip. But in my opinion, if we draw leaves we would want a flexible effect, so brush tip is a better choice. First draw a color block, then draw some dots, and here let me use the dots to make the texture of the leaf or simply to decorate the leaf. So that's what stippling is.
- Gradients
- Gradients of the Same Color System: One Single Color
Gradient is divided into the gradient of the same color system and gradients of different color systems. Let's talk about gradient of the same color system first. It is divided into two types. One is gradient of one single color and gradient of similar colors. Gradient of similar colors is the gradient within one color system. For example, green has different shades from a lighter green to a darker green, or from a more yellowish green to a cooler green.
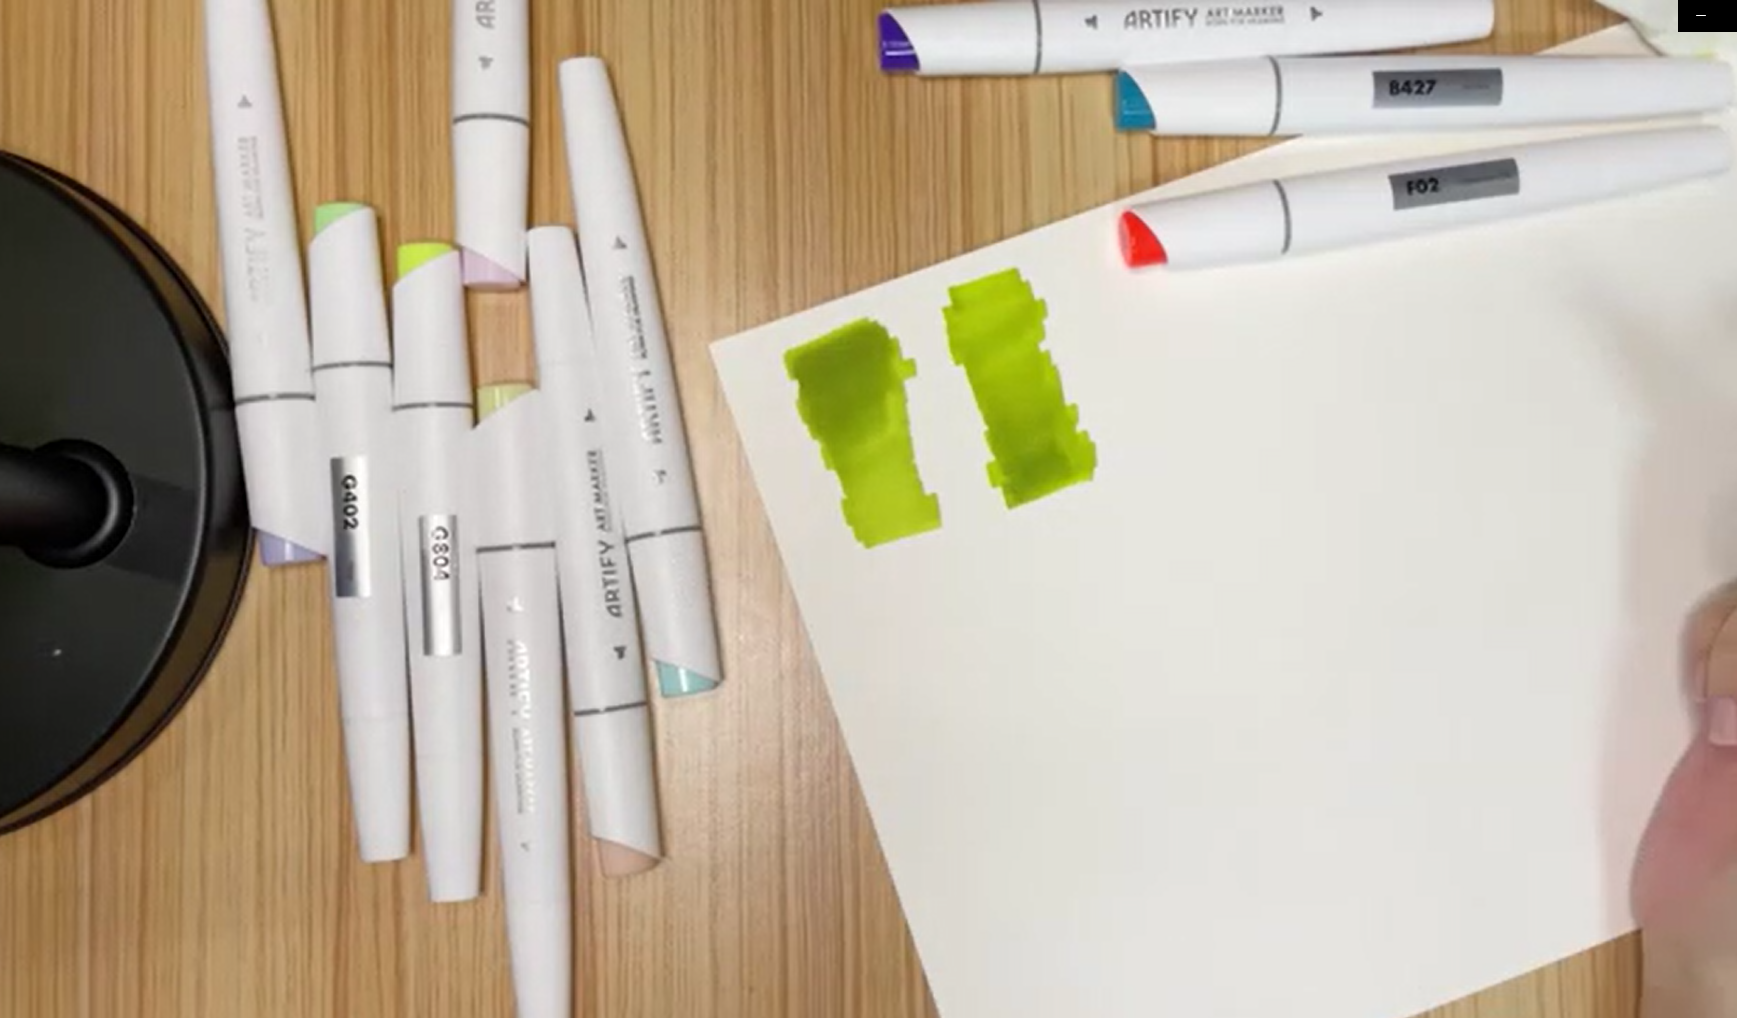
Gradients of one single color would be a gradient from dark to light or light to dark of the same color. We have to draw a little bit faster when we do the gradients. Because if it dries, it's going to have a stroke, and it's going to be a little bit stiff. So, we need to go a little bit faster.
Now let me show you how we do the gradients. First, I draw a piece of green color block. Then I overlay it a few times while it is not dry. Pay attention that the area you overlay needs to be smaller and smaller, so you can get a gradient from deep to shallow. This is the same process if you want from shallow to deep. That is, first draw a block, and then overlay slowly from the place you want to change. Then you can get a gradient from shallow to deep.
- Gradients of the Same Color System: Similar Color
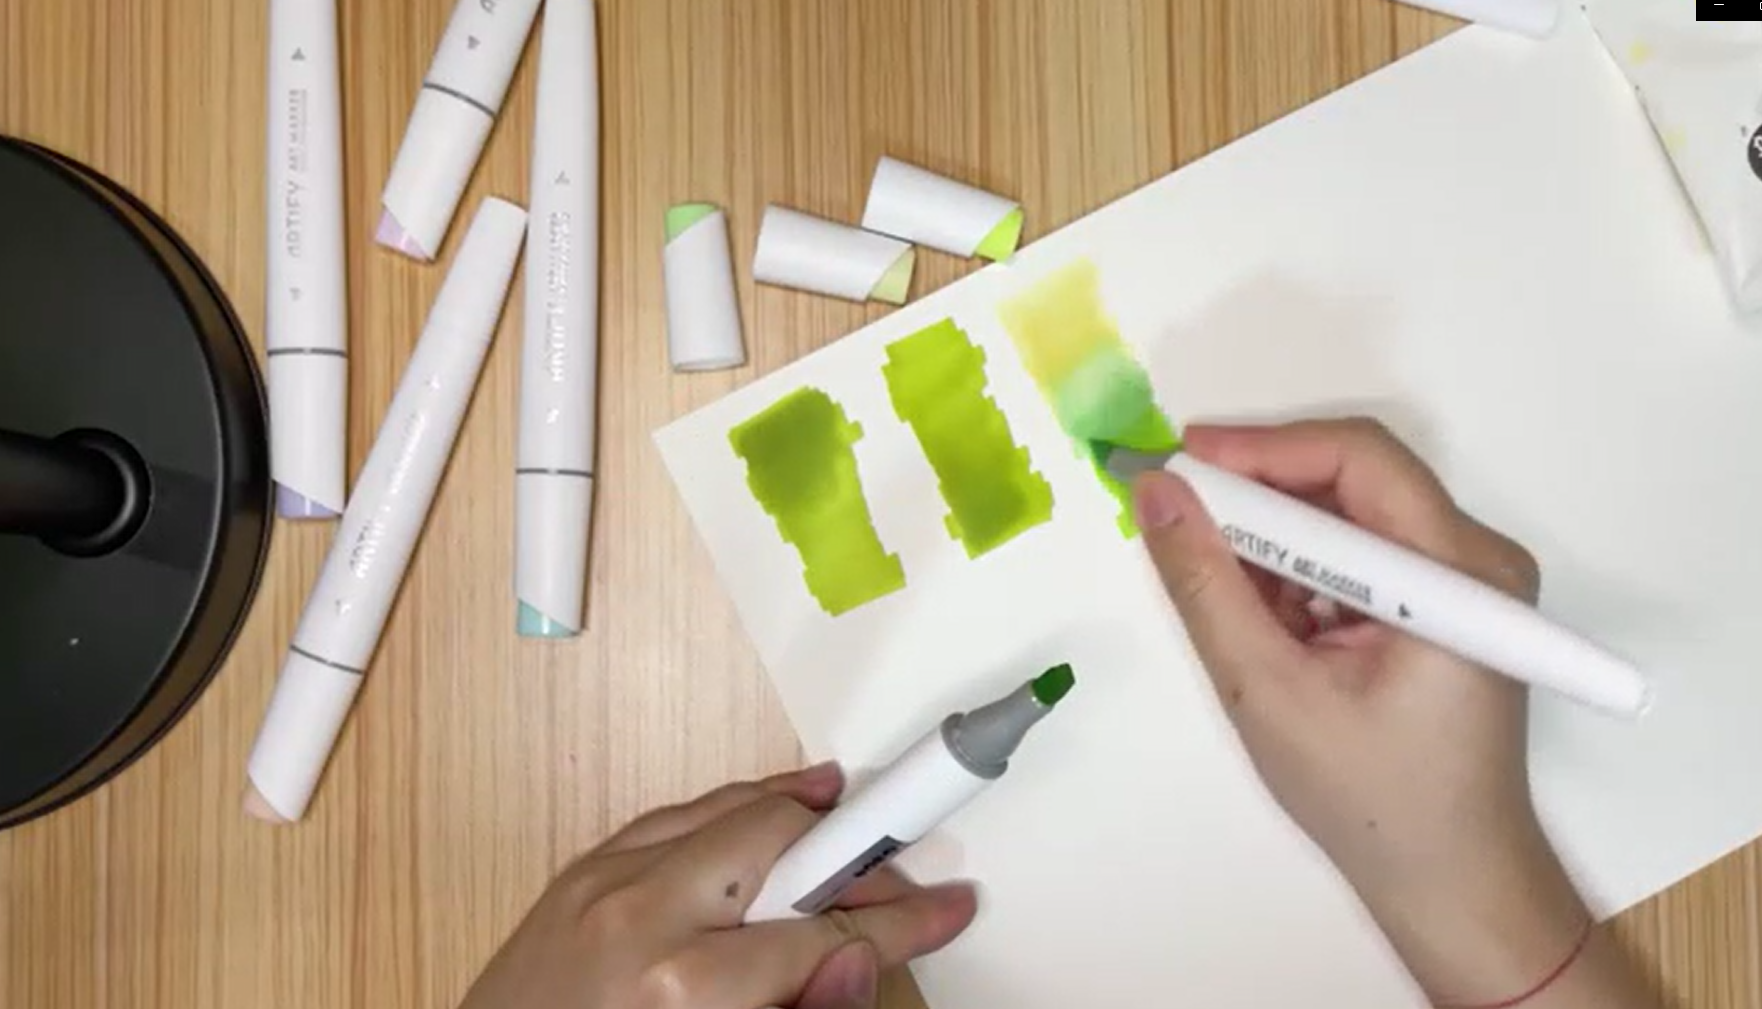
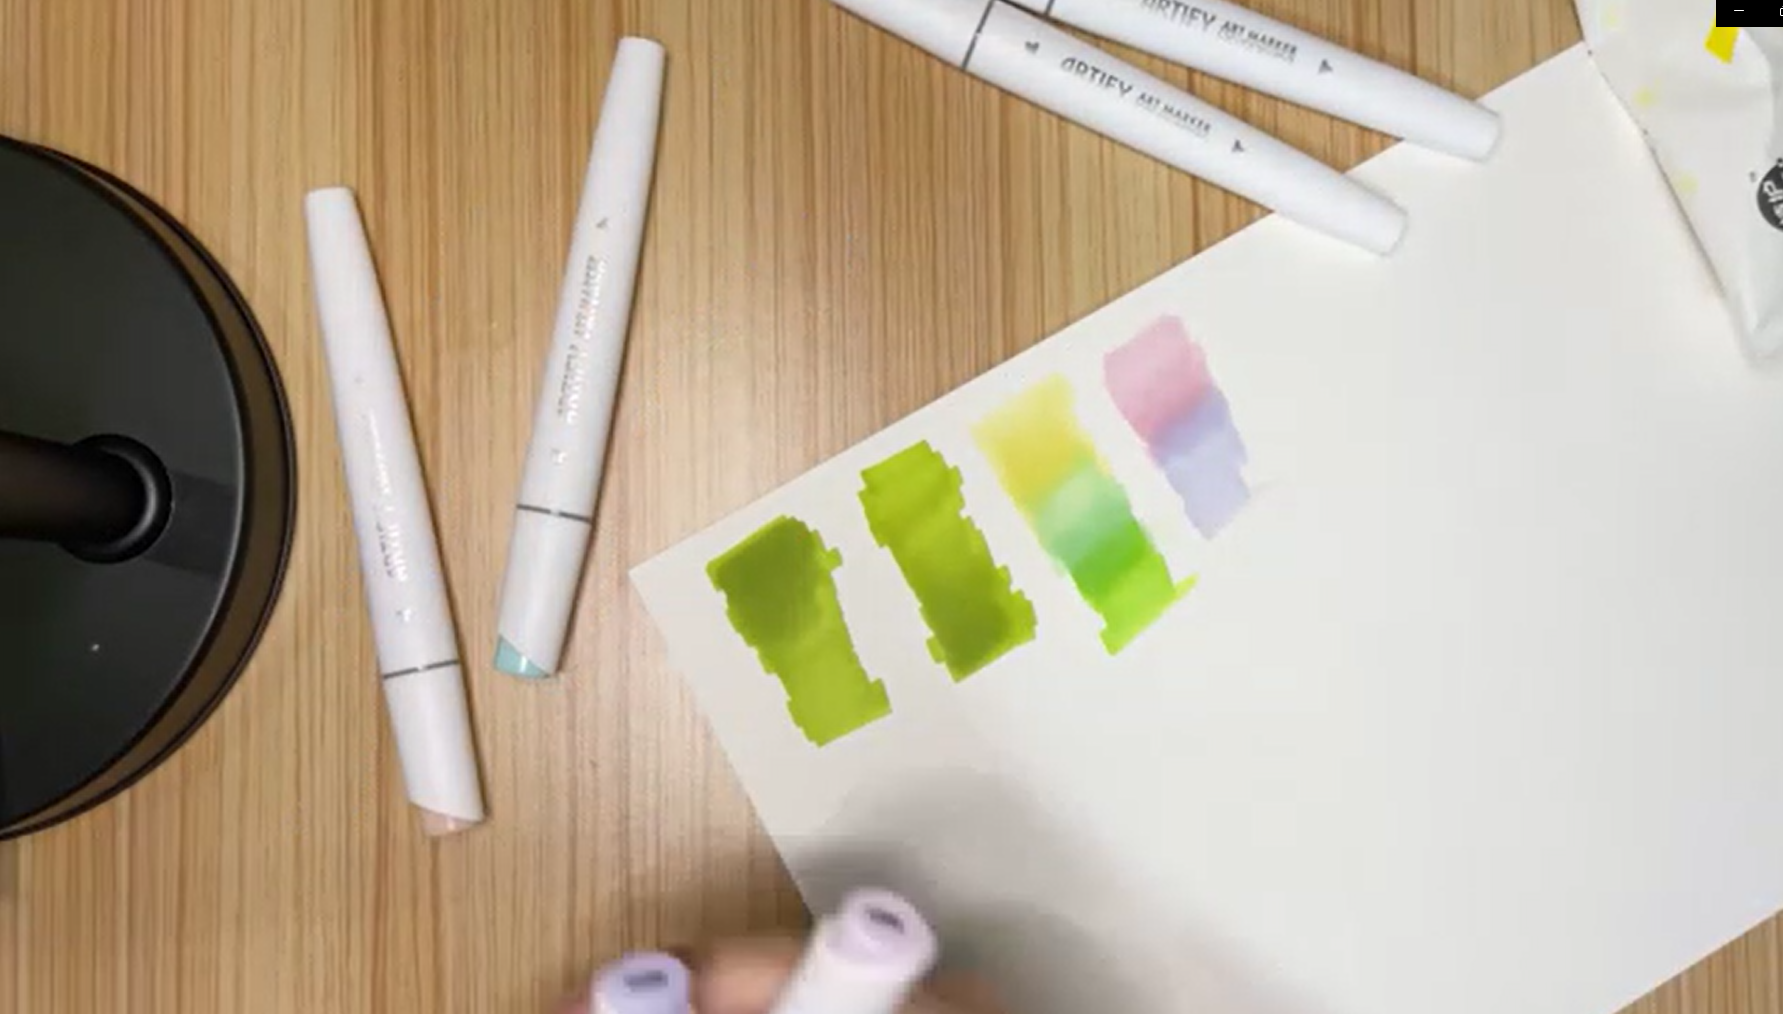
Next is the gradient of similar color. So I’ll pick the three colors and actually we can start from whatever the color. Here is a tip for you. If you use more than one color to draw, you’d better take all the caps off before you start to draw in case the color block will not dry out before the next overlay. Once the color block dries out, we will be unable to make a natural color transition. I’ll make a gradients within the green color system. Remember that when you do the gradients, you can use a lighter color to make a natural transition between the two colors just. Remember that use lighter color instead of darker color to make the transition or the transition will be very unnatural. Then let’s change a different color system to make a new gradient. Let’s say red purple. The same as usual, take off all the caps first. Let’s quickly overlay here before it dries out and we can rub it several times to make sure we get a more natural transition.
- Gradients of Different Color System
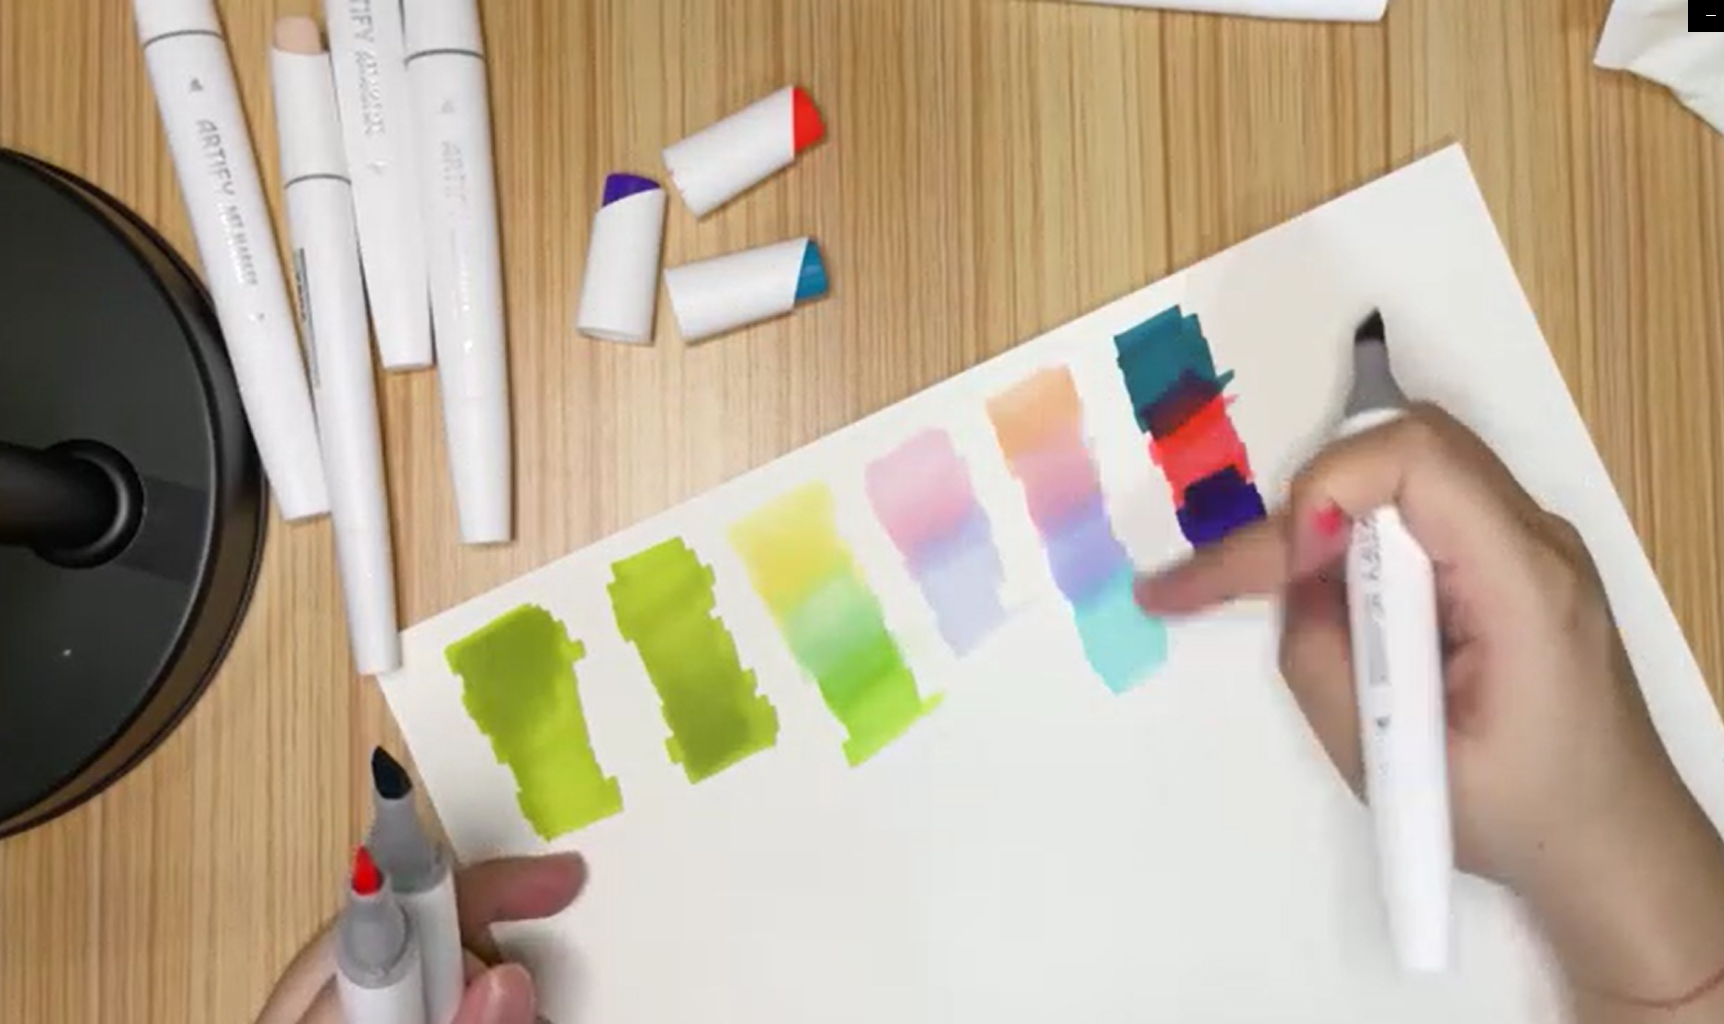
Now let’s talk about gradients of different color system. It means you can pick different colors scheme such as red, yellow, blue, green, or whatever. But when we choose the color, it is best to choose the colors that have similar purity and lightness. Do not choose the colors that are too different or too pure. Because the marker itself will make a relatively obvious stroke. So if the colors are too different, we will feel that the picture is not neat enough.We can contrast the two different ways to see the different effect (different color gradients of similar saturation and purity and different gradients of quite different in saturation and too pure).
The color contrast I chose are very prominent and drastic you can see in the gradients on the right side so you can see clearly the effect of these two ways of drawing gradients. Just remember to choose a color closer in purity and brightness to do the gradients!
- Wrong Uses and Correct Uses of Drawing Marker
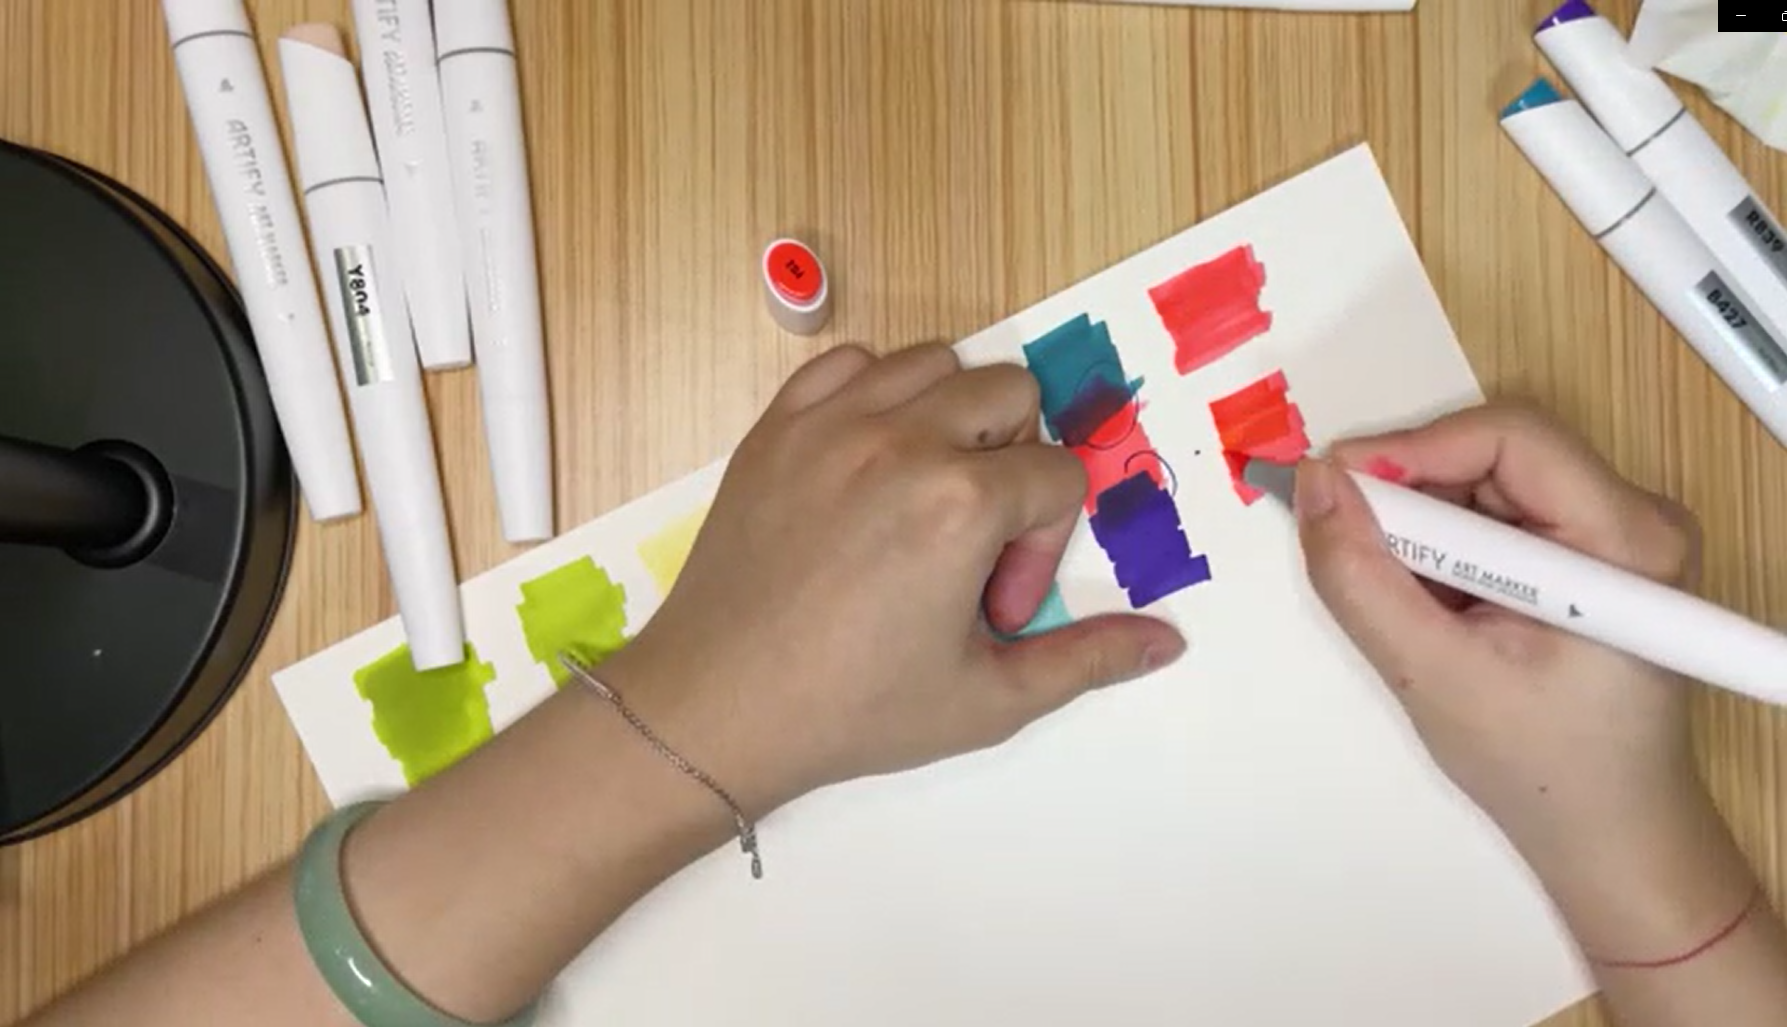
Last but not the least, let me talk about the possible situation that might occur when we do marker drawing. Sometimes people do not press the marker evenly which results in a gap between the strokes as you can see here. So, they try to just fill the gap. But that will make a very obvious stroke! What is the best solution? Wait until it dries a little bit and repaint it! We can do it several times. In this way, we fill the gap without any noticeable strokes.
The above are all the contents for the first lesson. Seems a lot of knowledge to learn? Read the content and watch the video at the same time will be of great help.
In the next blog, you’re going to know color composition. Bookmark our web page and stay tuned. Bye~
